
In today’s fast-paced world, finding time to unwind and relax is essential for our overall well-being. One delightful way to treat yourself to a luxurious spa experience is by indulging in a soothing bath with homemade bath bombs. These fizzy delights not only add a touch of luxury to your bath but also nourish your skin and tantalise your senses with delightful fragrances. In this guide, we’ll explore how to create your own homemade bath bombs for a rejuvenating spa day right in the comfort of your own home.
1. Gather Your Ingredients:

Before you begin, gather the following ingredients:
- 1 cup baking soda
- 1/2 cup citric acid
- 1/2 cup Epsom salts
- 1/2 cup cornstarch
- 2-3 tablespoons of carrier oil (such as coconut oil or almond oil)
- Essential oils of your choice (lavender, eucalyptus, peppermint, etc.)
- Natural coloring agents (optional) such as dried herbs, flower petals, or food coloring
- Bath bomb molds or silicone ice cube trays
2. Prepare Your Work Area:
Set up your workspace in a clean and well-ventilated area. Lay out your ingredients and equipment, and protect your surfaces with newspaper or a disposable tablecloth to catch any spills.
3. Mix Dry Ingredients:
In a mixing bowl, combine the baking soda, citric acid, Epsom salts, and cornstarch. Use a whisk or fork to thoroughly mix the dry ingredients together, breaking up any clumps.
4. Add Wet Ingredients:
In a separate bowl, mix together the carrier oil and your chosen essential oils. Slowly add the wet ingredients to the dry ingredients, stirring continuously until well combined. The mixture should have the consistency of damp sand and hold its shape when squeezed together.
5. Add Color and Fragrance:
If desired, divide the mixture into separate bowls and add natural coloring agents, such as dried herbs or flower petals, to each bowl. Add a few drops of your chosen essential oils to enhance the fragrance of each bath bomb.
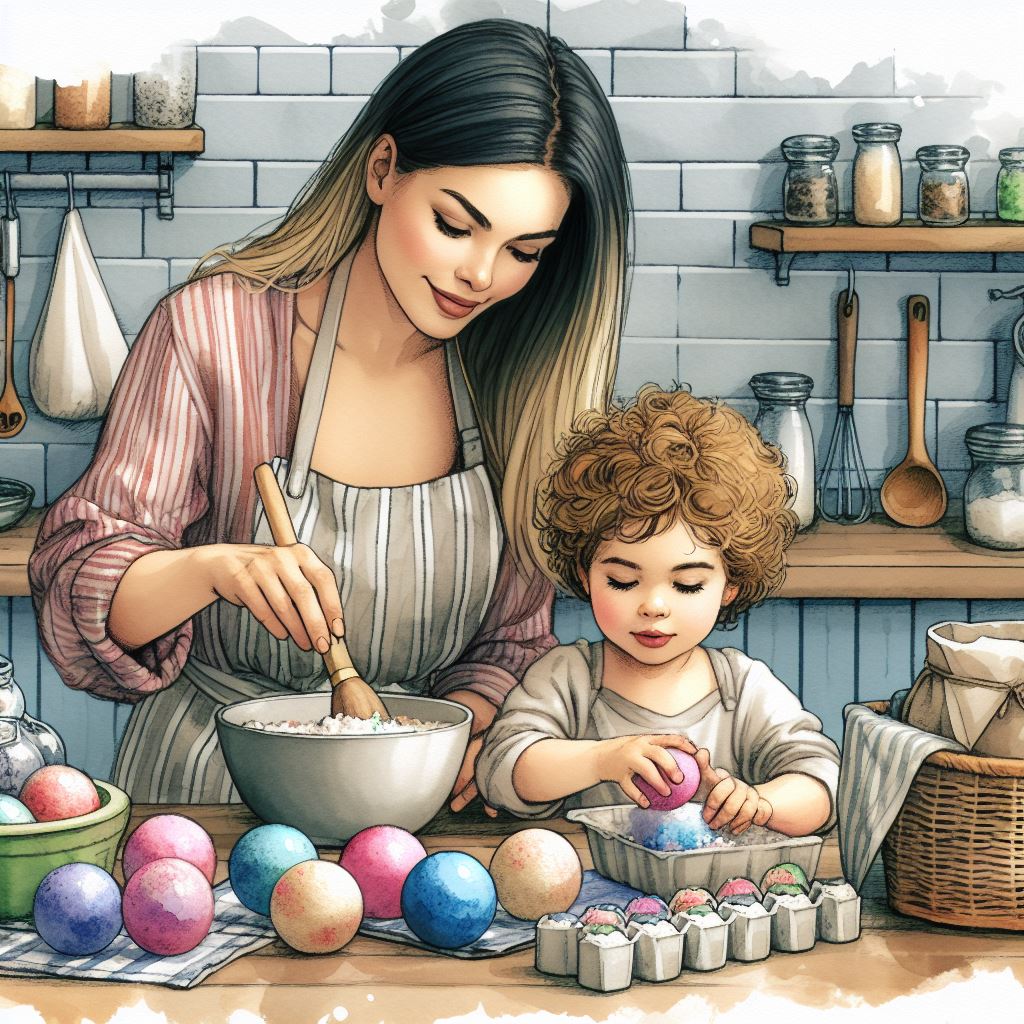
6. Mold the Bath Bombs:
Fill each half of the bath bomb mold or silicone ice cube tray with the mixture, pressing down firmly to pack it in tightly. If using molds, gently press the halves together to form a complete bath bomb. If using ice cube trays, simply press the mixture into each compartment.
7. Let Them Set:
Allow the bath bombs to dry and harden for at least 24 hours in a cool, dry place. This will ensure that they hold their shape and fizz properly when added to your bath.
8. Enjoy Your DIY Spa Day:
Once fully set, your homemade bath bombs are ready to be used. Simply drop one into a warm bath and watch as it fizzes and dissolves, releasing its fragrant oils and nourishing ingredients. Relax and unwind as you soak in the luxurious goodness of your homemade creation.
Tips for the Ultimate Spa Experience:
- Create a tranquil atmosphere by dimming the lights, lighting candles, and playing soothing music.
- Pair your bath bombs with other pampering treats such as a face mask, body scrub, or a glass of your favourite beverage.
- Experiment with different essential oil blends and natural coloring agents to create custom bath bombs tailored to your preferences.
By following these simple steps, you can create your own homemade bath bombs for a rejuvenating spa day experience right in the comfort of your own home. Indulge your senses, nourish your skin, and unwind in luxury as you soak away the stresses of the day.