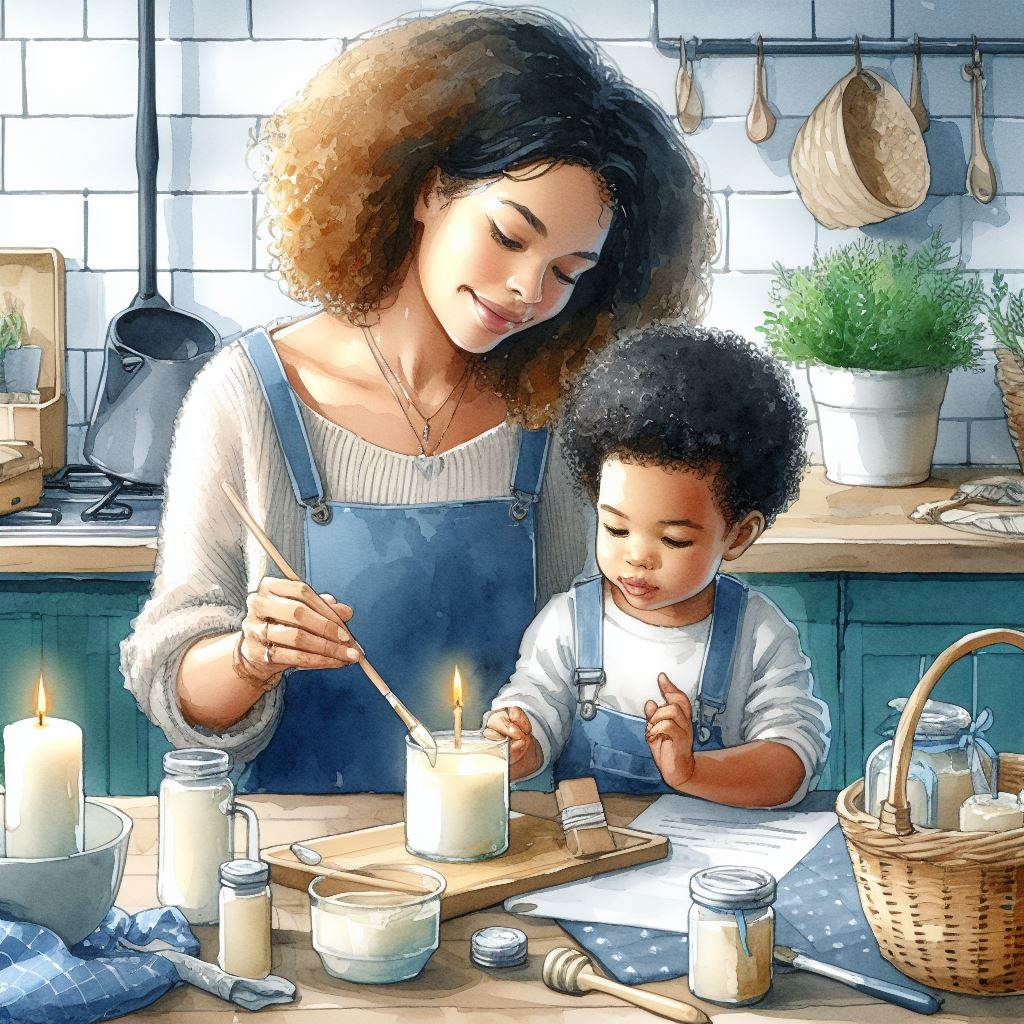
Scented candles not only add ambiance to a room but also infuse it with delightful fragrances that evoke memories and create a cozy atmosphere. Making your own custom scented candles is a rewarding and creative hobby that allows you to tailor the fragrance, colour, and style to your preferences. If you’re new to candle making, this beginner’s guide will walk you through the process step by step.
1. Gather Your Supplies:
Before you begin, gather all the necessary supplies:
- Candle wax (such as soy wax, beeswax, or paraffin wax)
- Candle wicks
- Fragrance oils or essential oils
- Candle dye or colouring agents (optional)
- Heat-resistant containers (e.g., jars, tins, or moulds)
- Double boiler or melting pot
- Thermometer
- Stirring utensil (e.g., wooden spoon or chopstick)
- Wick holders or adhesive (to keep wicks in place)
- Scale (for measuring ingredients)
- Safety goggles and gloves (optional but recommended)
2. Prepare Your Work Area:
Choose a clean and well-ventilated workspace to avoid any accidents or spills. Protect your surfaces with newspaper or a disposable tablecloth to catch any drips or spills.
3. Melt the Wax:
Using a double boiler or melting pot, melt the candle wax according to the manufacturer’s instructions. Use a thermometer to monitor the temperature, as overheating can lead to discoloration or burning of the wax.
4. Add Fragrance and Colour:
Once the wax has melted, remove it from the heat and allow it to cool slightly. Stir in your chosen fragrance oil or essential oil, ensuring it is evenly distributed throughout the wax. If desired, add candle dye or colouring agents to achieve your desired hue.
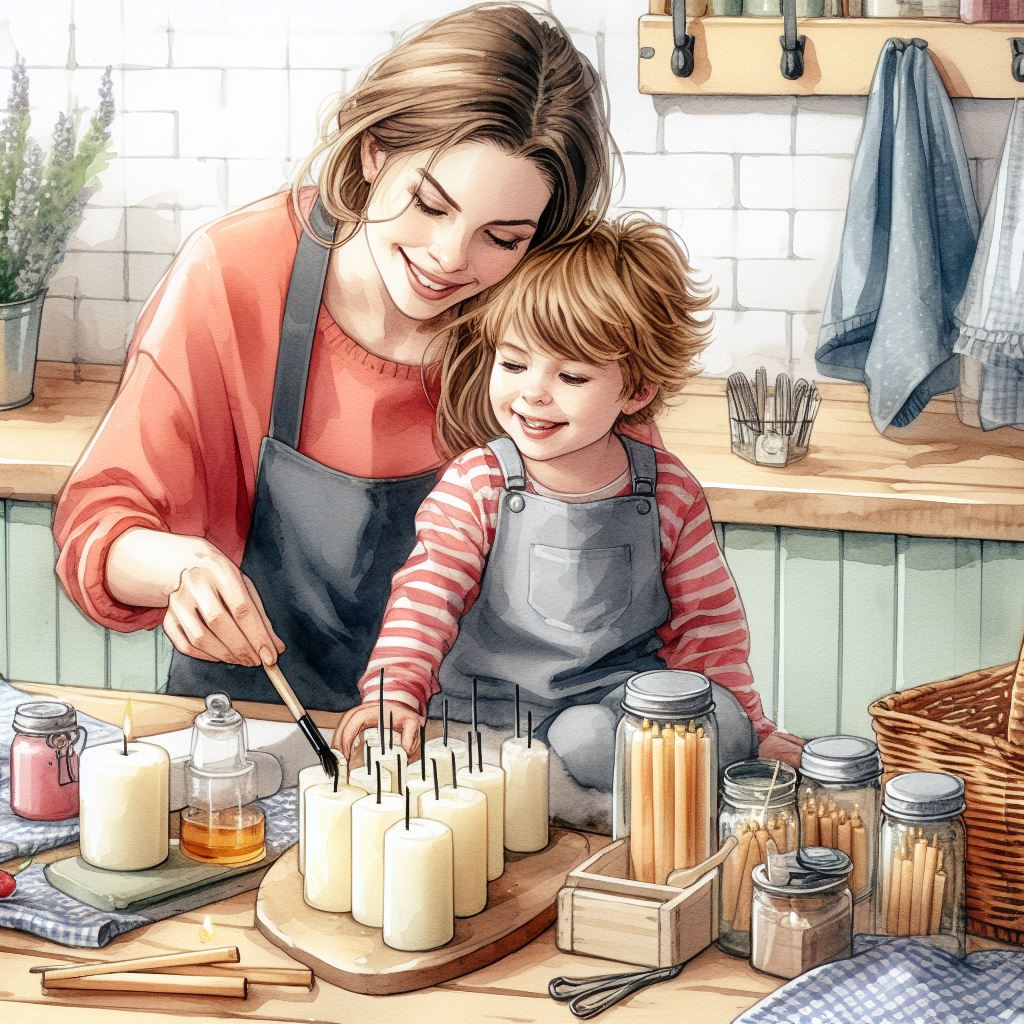
5. Prepare the Containers and Wicks:
While the wax is cooling, prepare your containers by placing a wick in each one. Use wick holders or adhesive to keep the wicks centered and upright.
6. Pour the Wax:
Carefully pour the scented wax into your prepared containers, ensuring that the wicks remain straight and centered. Leave a small amount of space at the top of the container to allow for expansion as the candle cools.
7. Let the Candles Set:
Allow the candles to cool and harden completely before moving them. This process may take several hours, depending on the size and type of candle.
8. Trim the Wicks:
Once the candles have fully set, trim the wicks to approximately ¼ inch above the surface of the wax. This helps prevent smoking and ensures a clean, even burn.
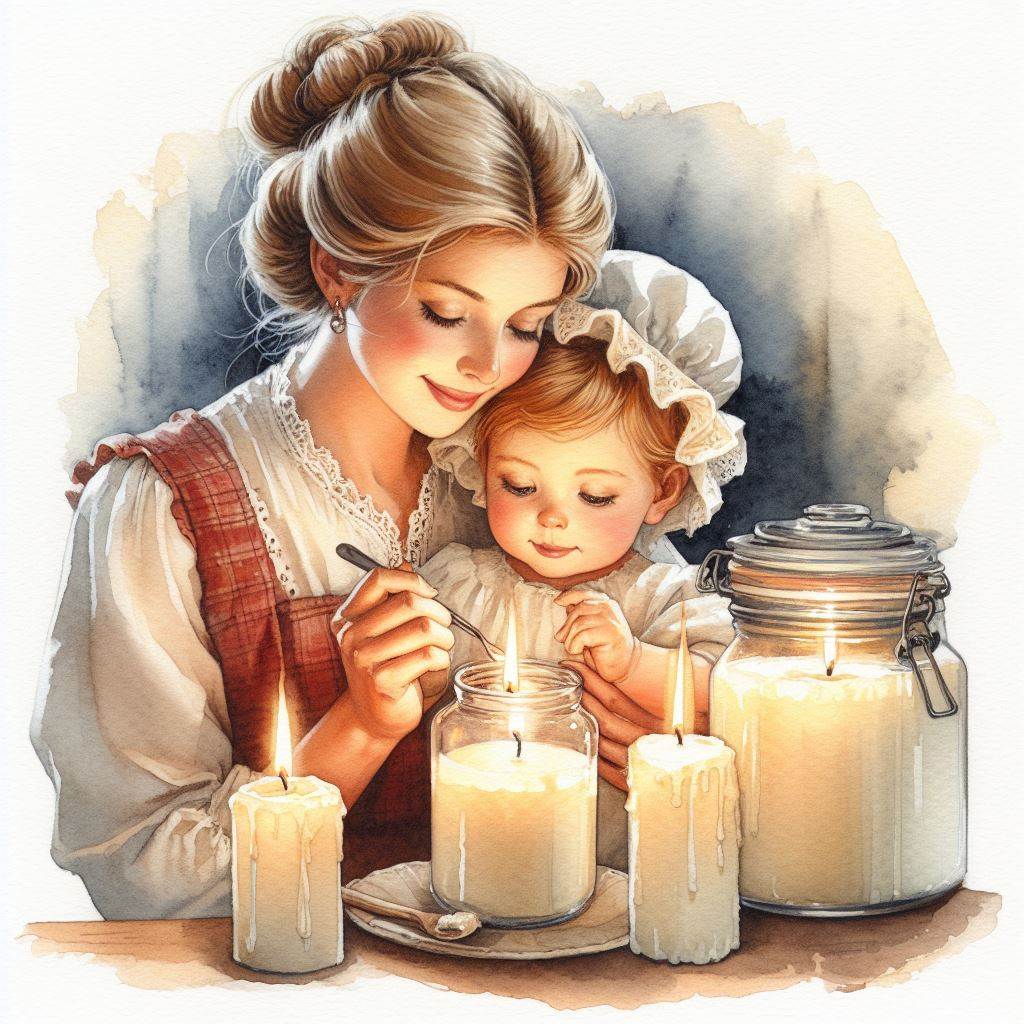
9. Enjoy Your Custom Scented Candles:
Once trimmed, your custom scented candles are ready to be enjoyed! Light them up and bask in the warm glow and delightful aroma that fills your space.
Tips and Safety Precautions:
- Experiment with different fragrance combinations to create unique scents that reflect your personality and preferences.
- Always follow safety precautions when working with hot wax and open flames. Use caution to avoid burns or fire hazards.
- Keep an eye on your candles while burning and never leave them unattended.
- Store your candles in a cool, dry place away from direct sunlight to preserve their quality and fragrance.
Creating your own custom scented candles is a fun and fulfilling craft that allows you to express your creativity and enhance your home with beautiful fragrances. With practice and experimentation, you’ll soon master the art of candle making and be able to enjoy your handmade creations for years to come.